Welcome to this comprehensive guide on creating a contact form using Formbricks. Whether you’re just starting out or you’re a seasoned developer, this tutorial will walk you through every step of building an engaging and effective contact form.Documentation Index
Fetch the complete documentation index at: https://formbricks.com/docs/llms.txt
Use this file to discover all available pages before exploring further.
What We’ll Build
By the end of this tutorial, you’ll have created a simple contact form featuring:- A welcoming introduction.
- Fields for collecting the user’s name and email.
- A question to find out why they’re contacting you.
- A message field for users to share their queries.
Setting Up Your Form
First, let’s lay the groundwork for your form:- Head to the Surveys page and click on New Survey.
- Select Start from Scratch to create a new form.
- In the form editor, click the three dots next to a question, then select Change Question Type and choose Statement (Call to Action).
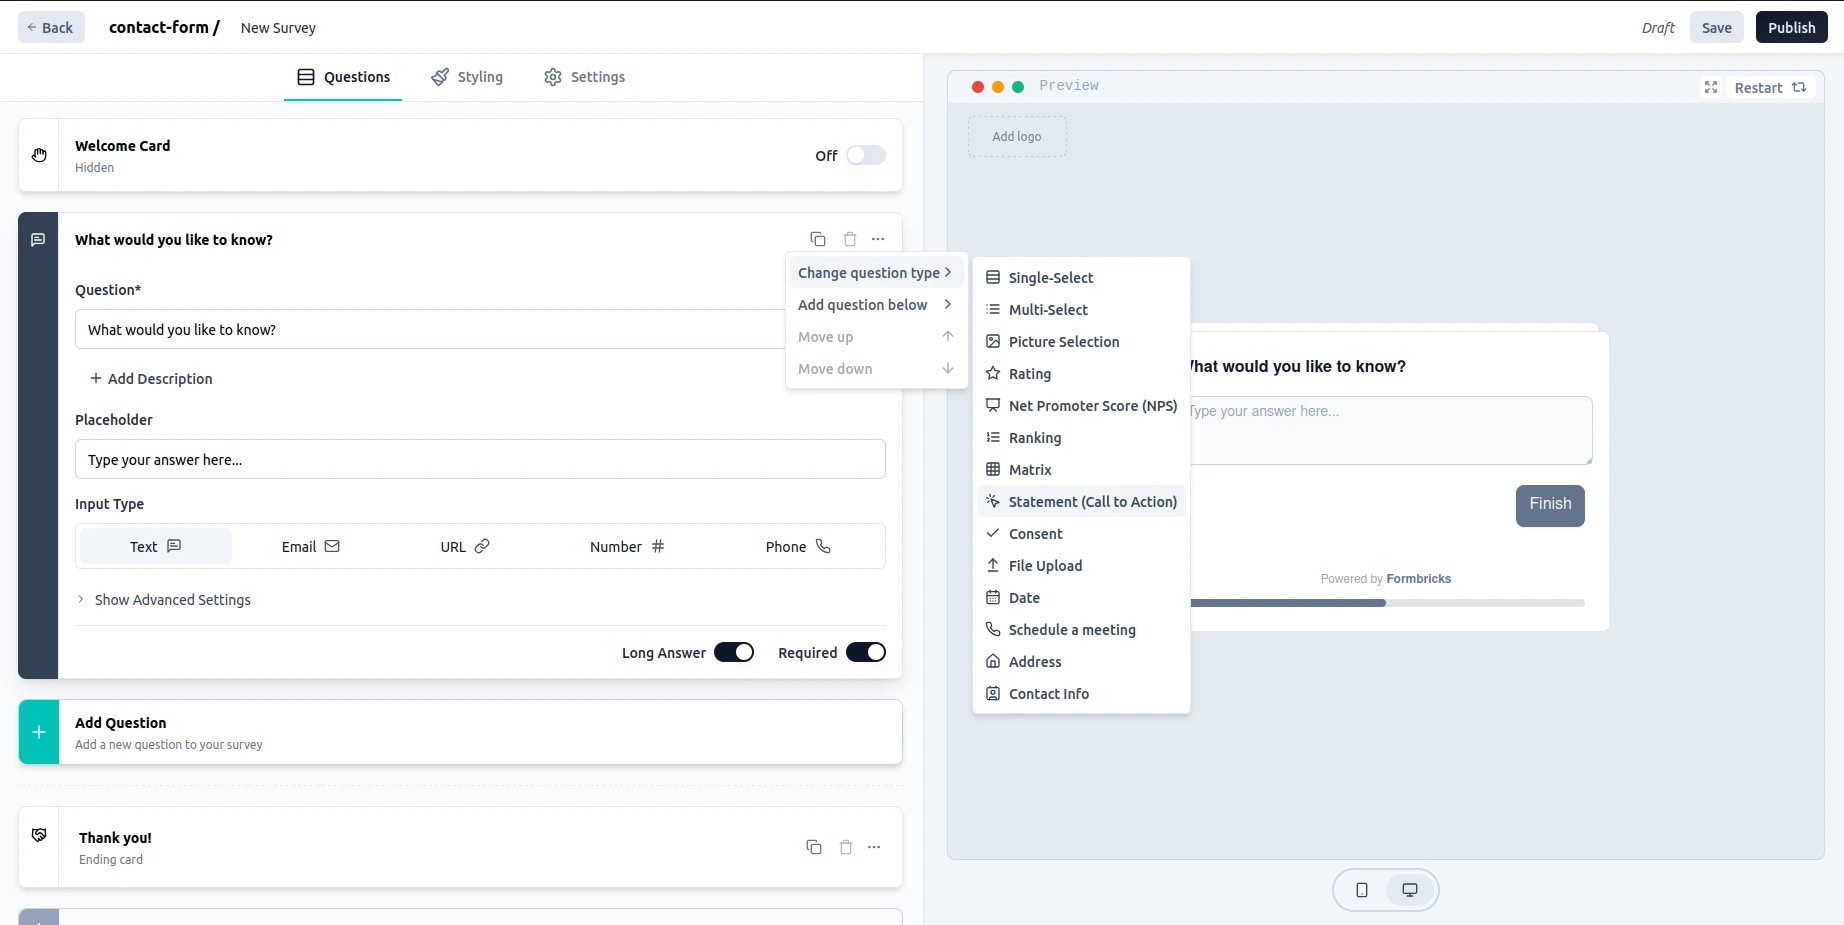
- Add a welcoming statement to greet your users and explain the form’s purpose.
- Personalize the greeting to make it inviting and encourage engagement.
A warm welcome sets the tone for your form. Make it friendly to encourage
users to participate.
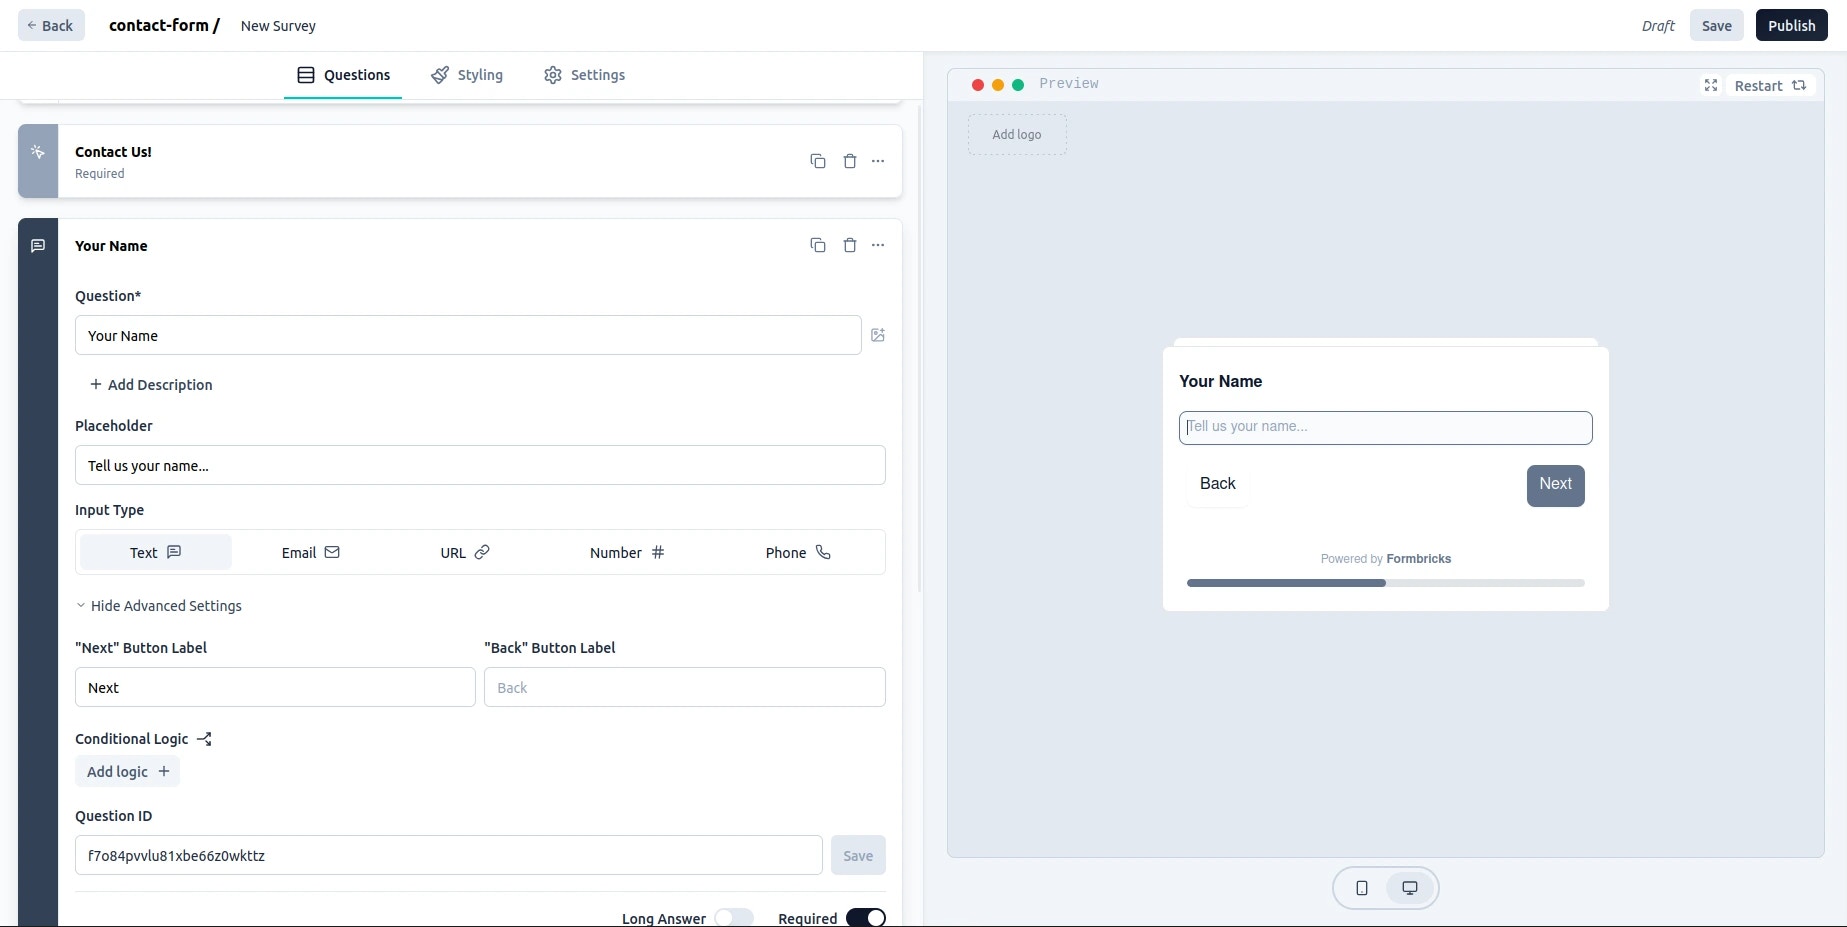
Adding the Name Field
Next, let’s capture the user’s name:- Click Add Question.

- Enter the prompts for the name field.
- Turn off the Long Answer option at the bottom right.
- Adjust any settings, such as making the field required.
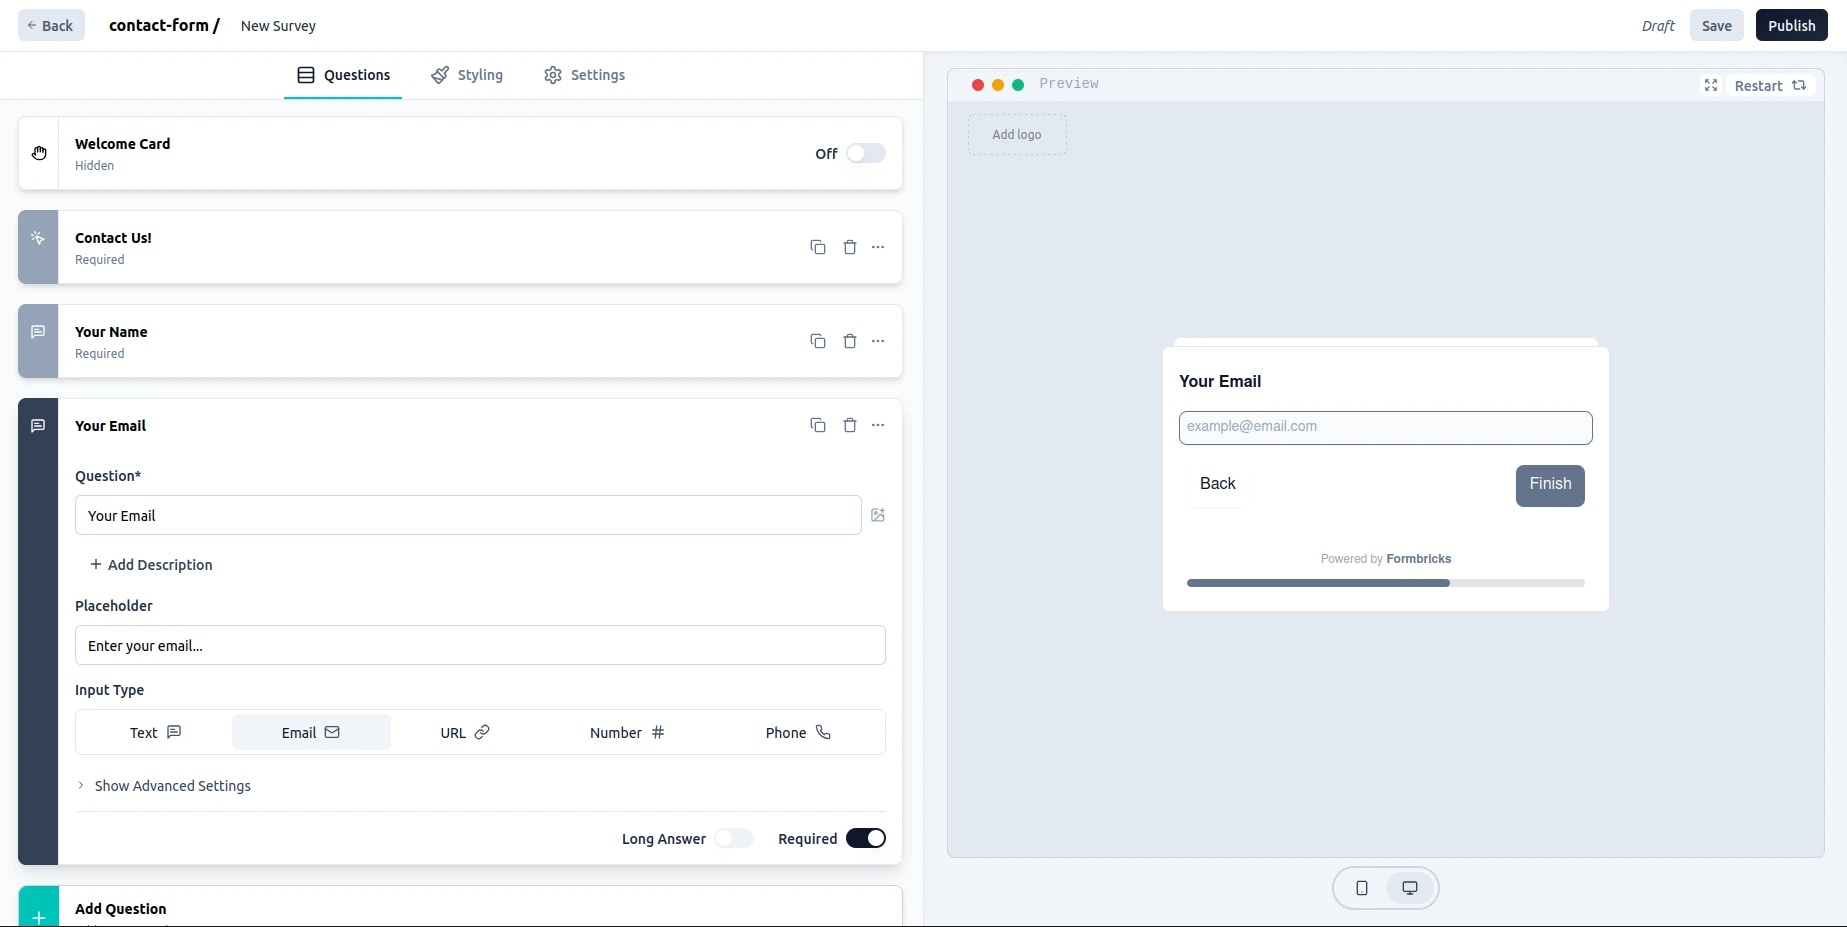
Adding the Email Field
Now, let’s add a field to collect the user’s email address:- Click Add Question again.
- Select Email as the input type.
- Enter a prompt for the email field.
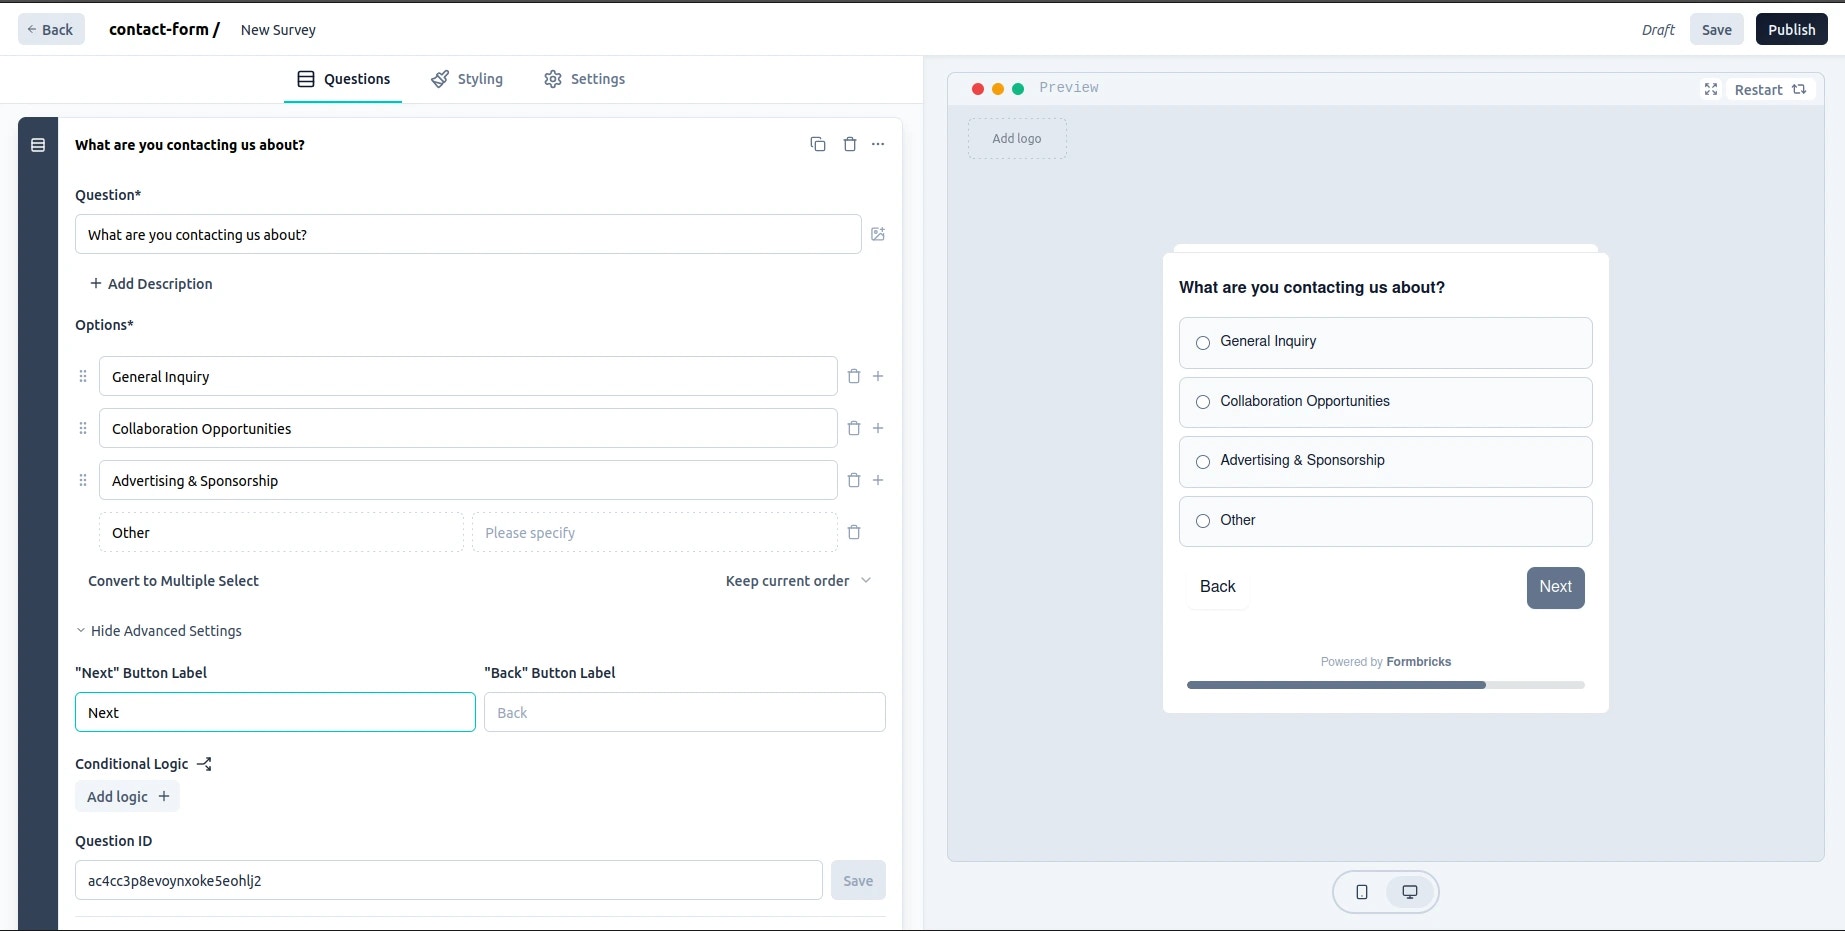
Adding a Reason for Contact
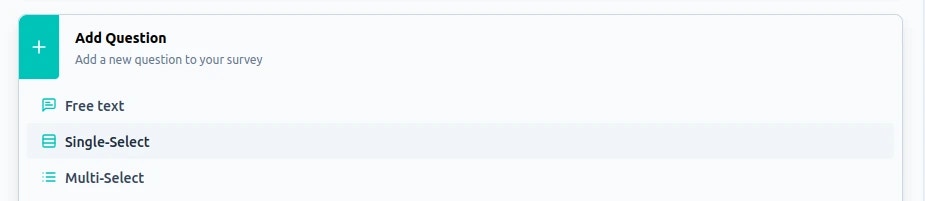
Let’s now understand why the user is contacting you:- Click Add Question once again.
- Select Change Question Type and choose Single Select.
- Add the question “Why are you contacting us today?”
Predefined options help categorize inquiries, making it easier for you to
respond appropriately.
- Add options like “General Inquiry,” “Support,” and “Feedback.”
Adding a Message Field
Finally, let’s provide a space for the user’s message:- Click Add Question for the last time.
- Add the question: “Your Message.”
- Set the placeholder text to something like “Please write your message here.”
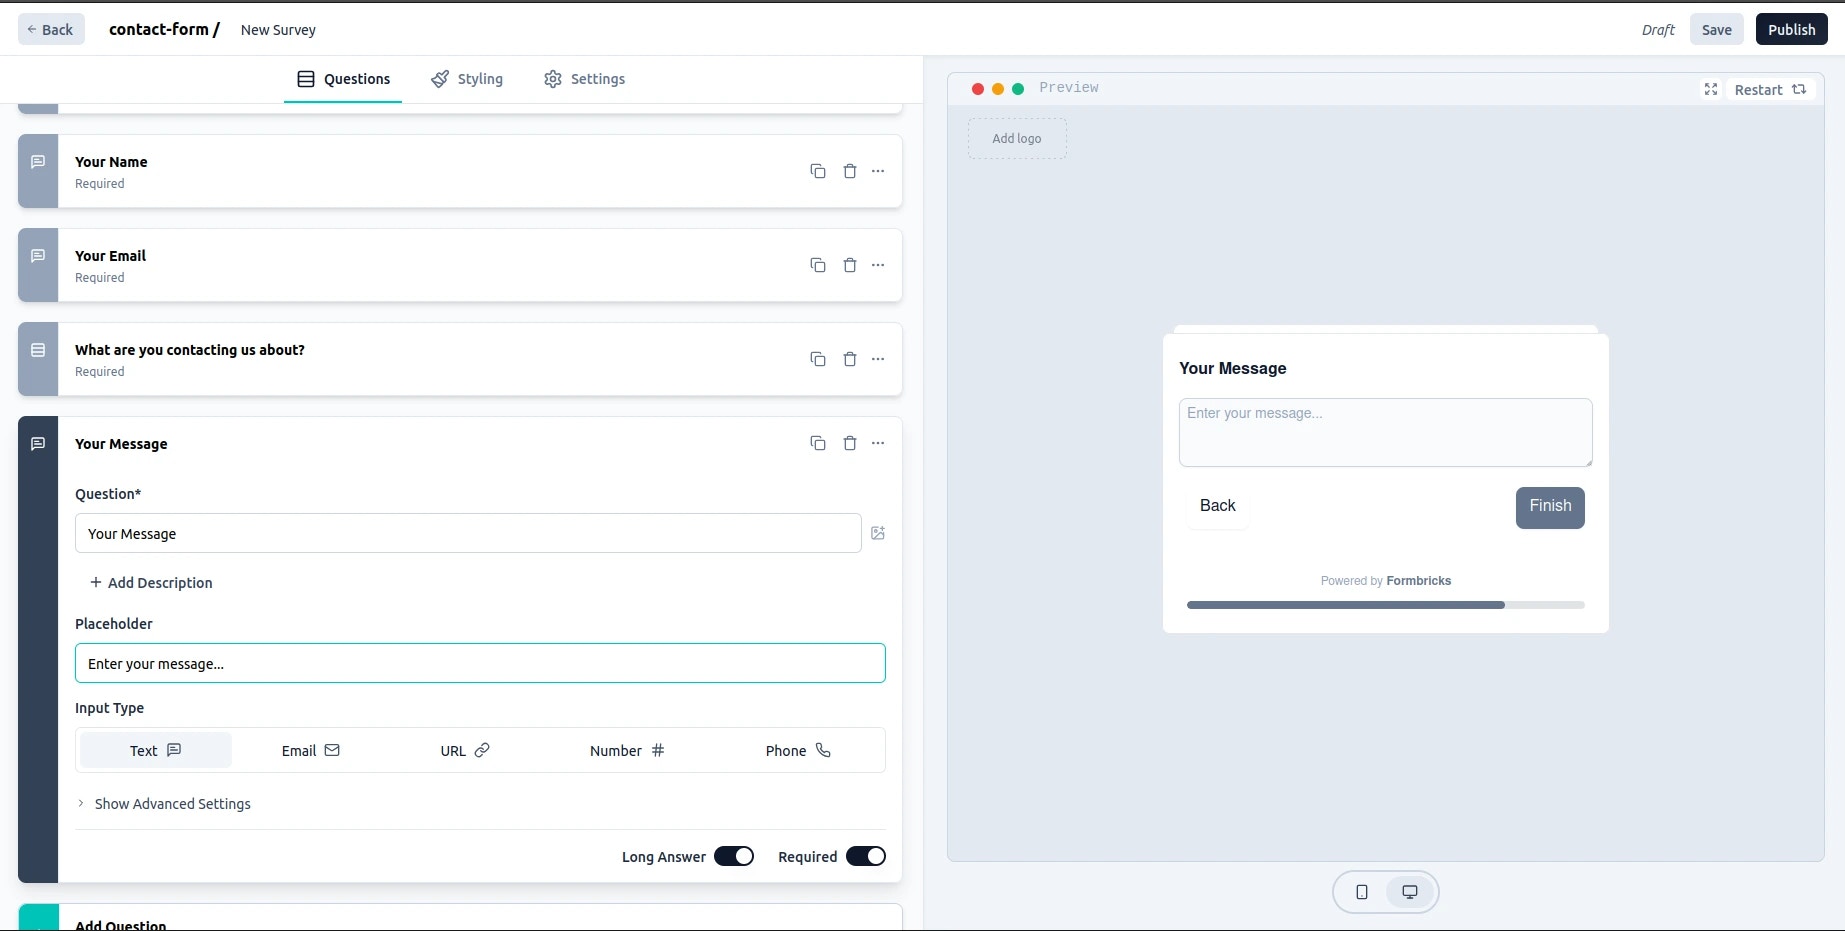
- Consider setting a minimum character count to ensure detailed messages.
Finalizing Your Form
Once your form is complete, follow these final steps:- Review and rearrange the questions if necessary.
- Test the form by filling it out as a user.
- Customize the Thank You message for submissions.
- Publish the form to get a shareable link.
-
Enable submission notifications:
- Go to your Formbricks account settings.
- Verify your email address.
- Ensure that Survey notifications are enabled.
Integrating the Contact Form into Your Website
After publishing the form, follow these steps to integrate it into your site:- Copy the Shareable Link
- Find your form in the Formbricks dashboard, and click Share.
- Select Embed in a Web Page.
-
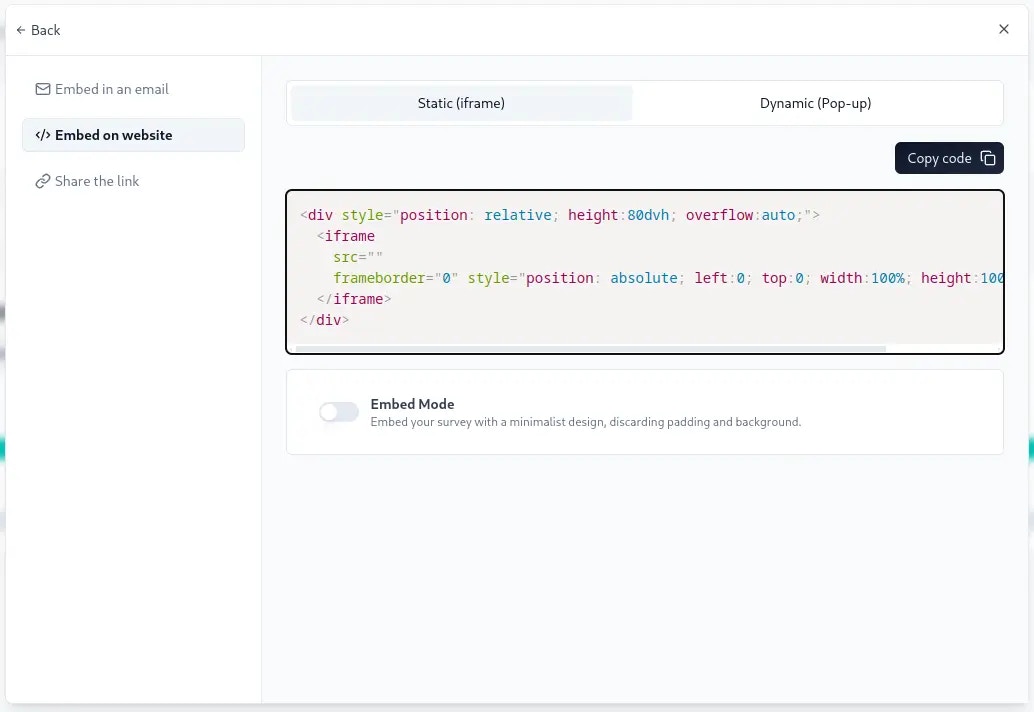
Embed the Code
- Copy the provided code and paste it into your website where you want the form to appear.
Note: There is an options toggle button called “Embed Mode.” When enabled, it
updates the
src to "?embed=true" and displays your survey in a minimalist
design, removing padding and background for a cleaner look.-
Test the Integration
- Check if the form displays correctly on your site.
- Submit a test entry to ensure everything works and notifications are received.